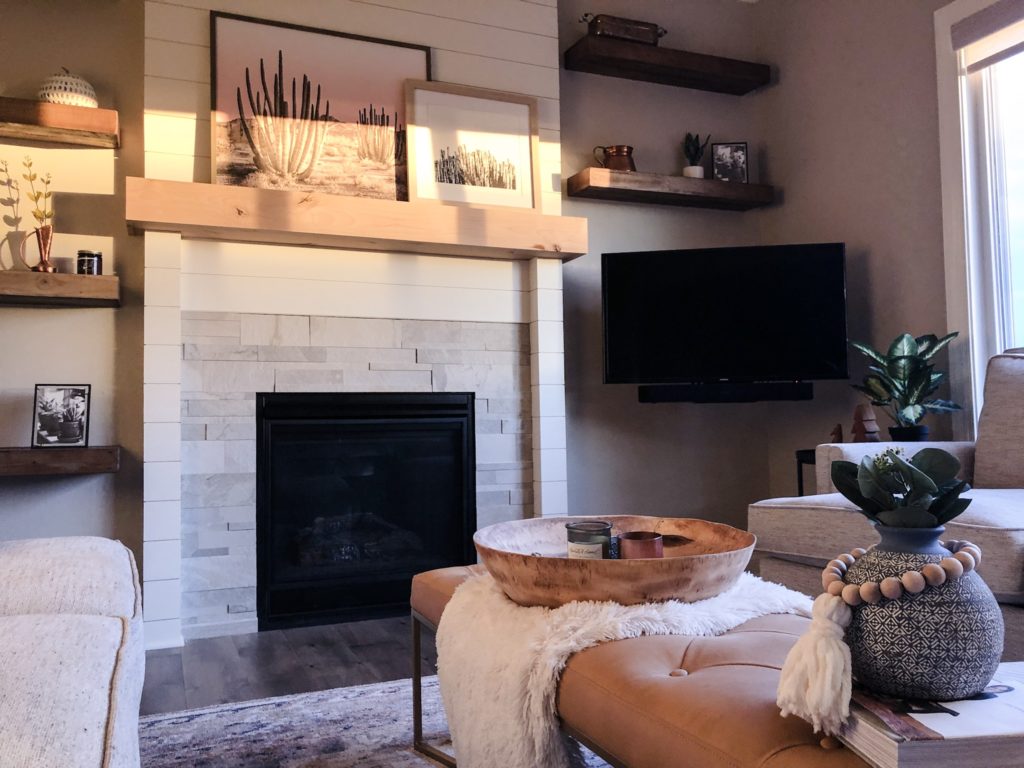
Our Fireplace Surround and Mantle Renovation
Luckily, there was very little I wanted done immediately when we bought our first house. But as soon as I saw the dark, bulky fireplace in the center of our small living room, I knew it was first on the list. Here are some key things I learned from taking on our first (albeit small) home renovation project.

1. Know What You Want
I drew out exactly what I wanted on a piece of paper, including dimensions, and showed it to both of the renovation companies we met with. I think half the battle in any project is correctly communicating what it is you want done, and the more sure you are, the less room there is for the company to take advantages when it comes to add-ons and pricing.
The key things I wanted done to improve the aesthetic of the fireplace and function of the room:
- Fireplace surround extended all the way to the ceiling to give the illusion of a bigger room
- 3-inch framing out from the wall, wrapped with white shiplap to lighten up the small room
- Complete surround to be a foot narrower than existing to create room for shelving on either side
- TV electrical moved to the right side so it’s not above the fireplace
- A natural, knotty wood mantle with clean lines
2. DIY What You Can
Our family helped us tear out all of the old laminate floors and carpet on the main level since we were having it replaced with engineered hardwood. At the same time, we ripped out the existing fireplace surround. Had my mom not suggested this I’m not sure I would have tried it, but it was surprisingly easy with a crow bar and a hammer.
Once we finished, the only remnants of the old fireplace were the actual unit itself and the existing tile, that we decided to keep but I wanted it cut down a few inches so the entire fireplace took up less real estate on the small wall.
We also knew we could paint afterwards so when we communicated with vendors we didn’t include the price of painting the shiplap, drywall or crown molding in the project.
3. Meet with Multiple Vendors for Your Project
Because I had a very clear direction and a blank slate, I was expecting a reasonable quote, somewhere around $2,000. The first company we reached out to came back with a quote of over $5,000! Shocked, I asked for a breakdown of the costs so I could see what I could cut to get the project within my price range. They replied that they “don’t usually do that” and from there I knew I didn’t want to work with them.
The second company we reached out to came back with a much more reasonable quote at $2,300. We only went over $50 by upgrading to an alder mantle vs. birch.
Being our first home reno project, my takeaway is never to settle for the first quote and always trust your gut. If it seems like you’re paying too much for something, you probably are.
Before and After: Fireplace Renovation
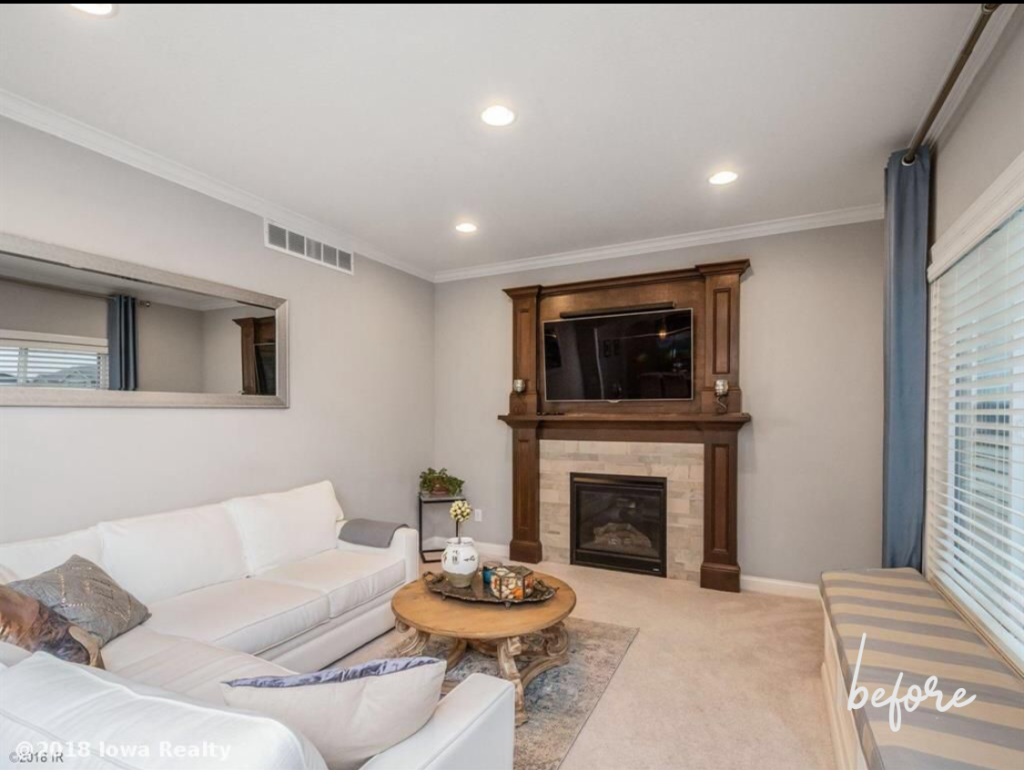
Before: Dark and Bulky
Although not ugly, the old fireplace took up so much of this wall that it made the room look even smaller than it was. It also wasted space on either side of the surround.
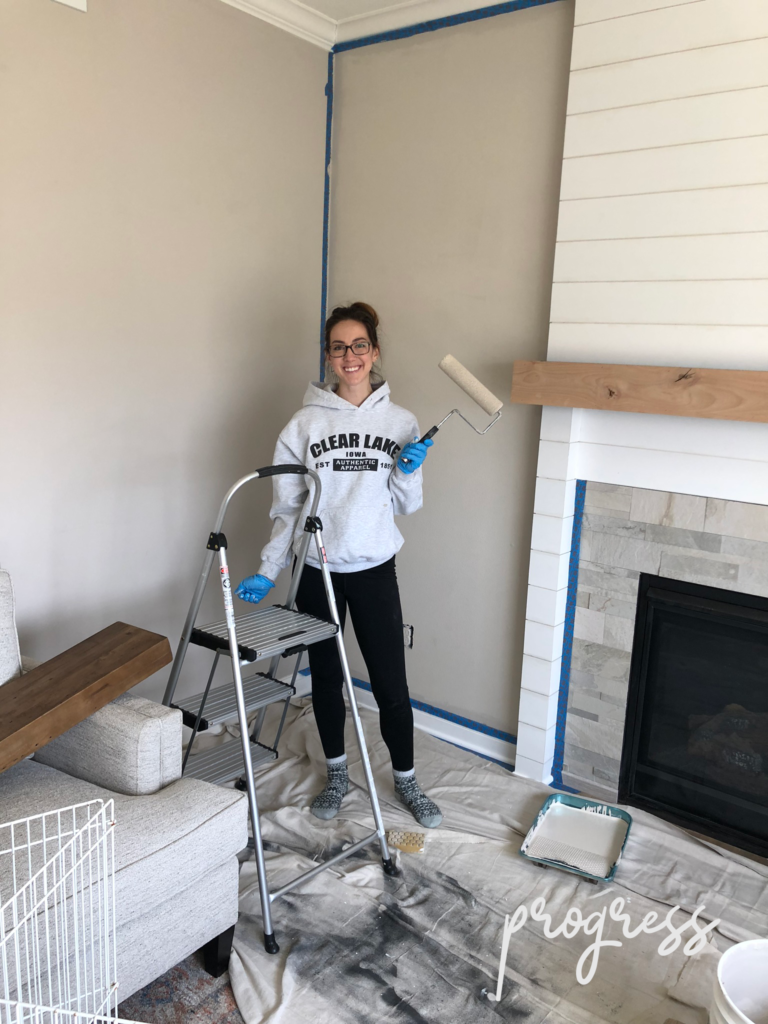
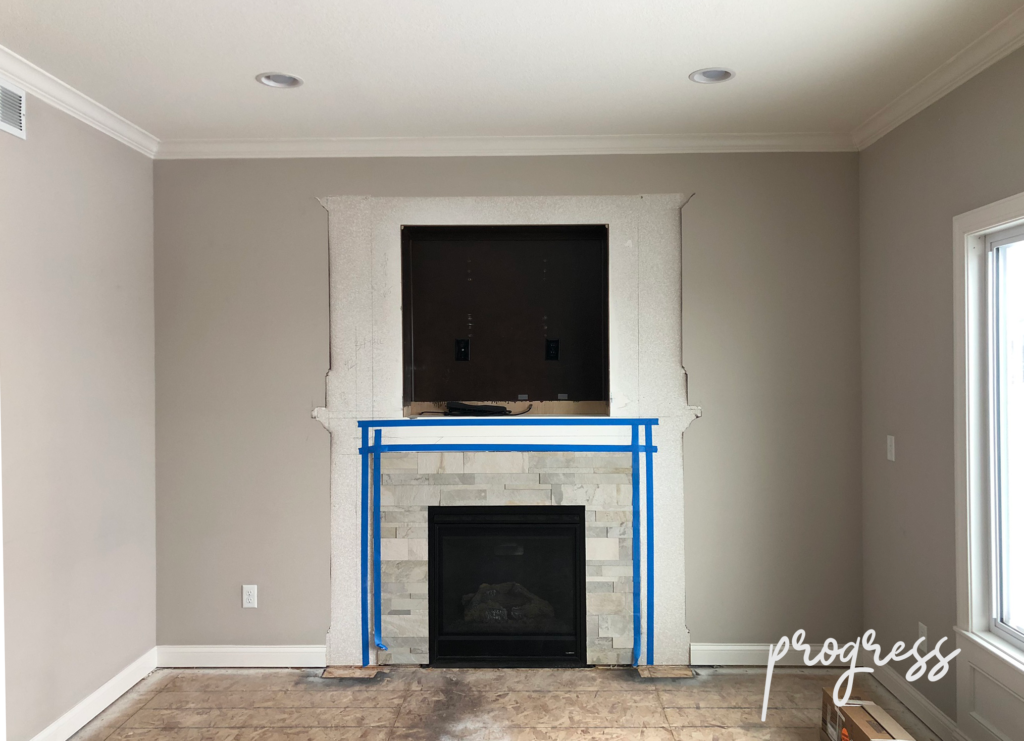
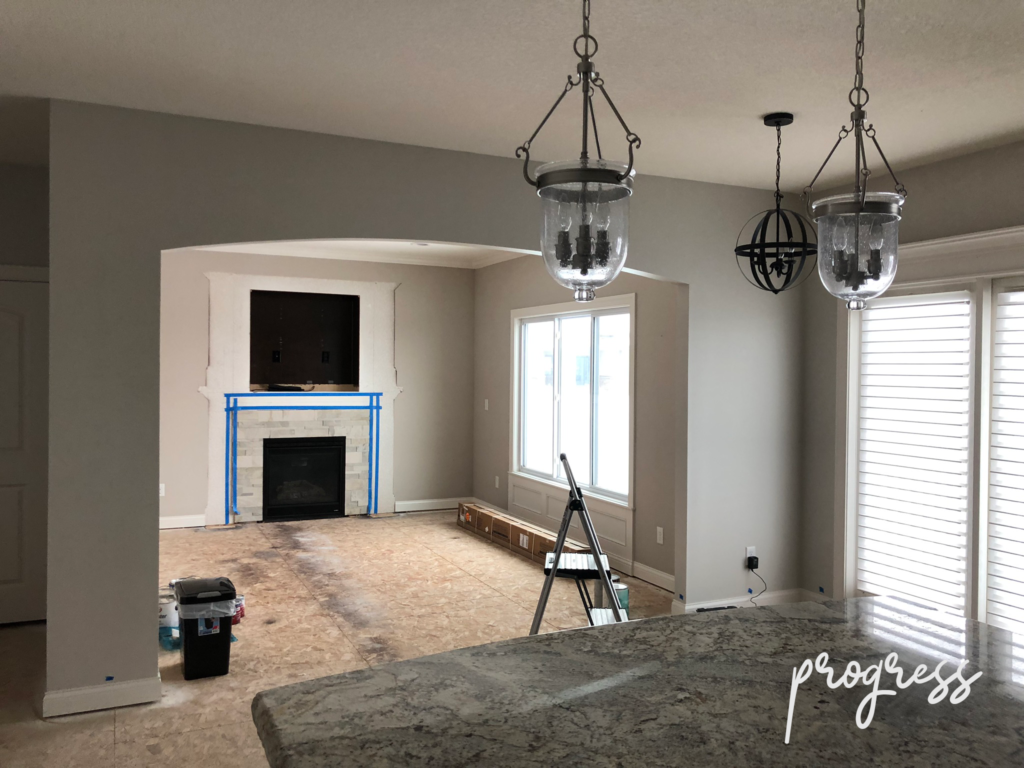
Progress: Slimming Down
We ripped out the old framing (and carpet) and the room felt immediately larger. Look how much space is saved below where the design is taped off!
Since the TV electrical was located above the fireplace, we needed to include re-wiring in our project plan.
During this time we also redid the floors on the entire first level, which made an equally impressive difference. There was some pretty nasty carpet in the living room which cut to a shiny, orange laminate in the kitchen. Installing all new engineered hardwood in a Hazelnut color really helped open this room up to the rest of the house.
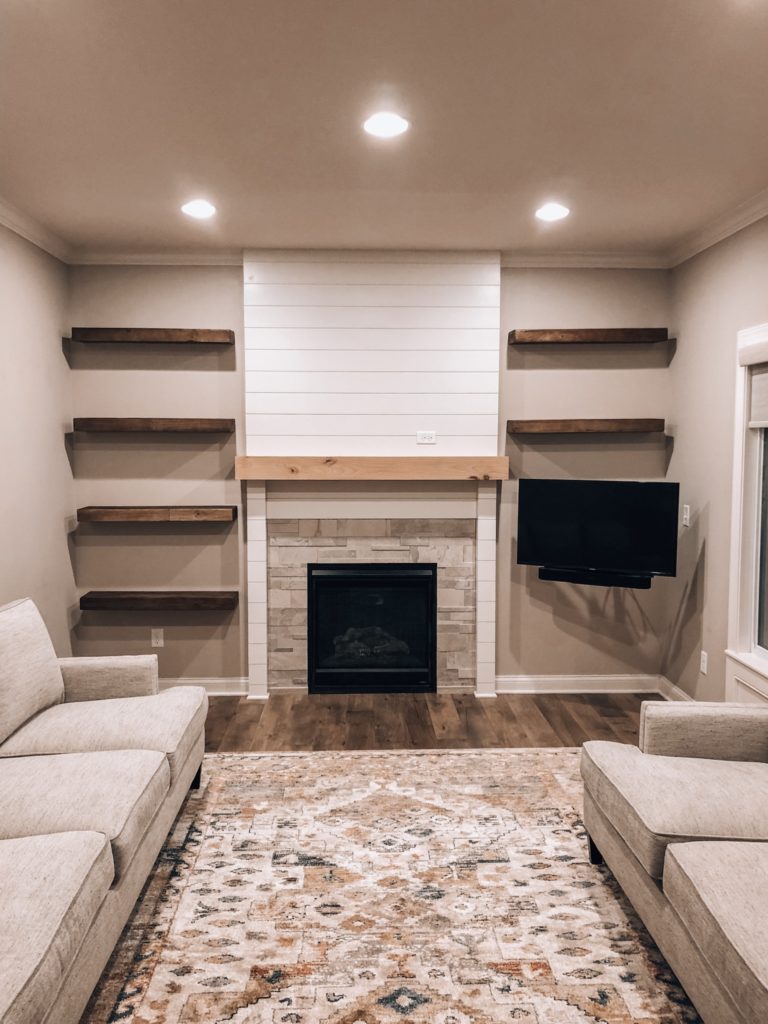
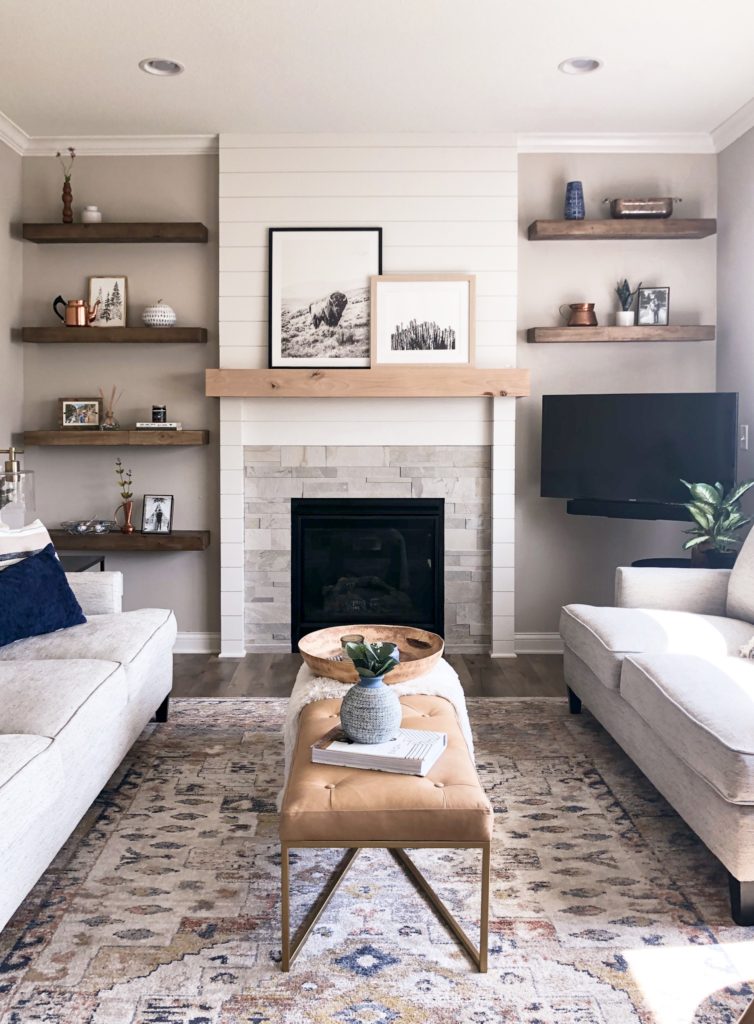
Completion: Bright and Open
The new surround and mantle only took two days to install and the company we worked with did a great job to ensure my vision came to life. Afterwards, my mom and I painted the shiplap white and painted the exposed drywall to match the existing color.
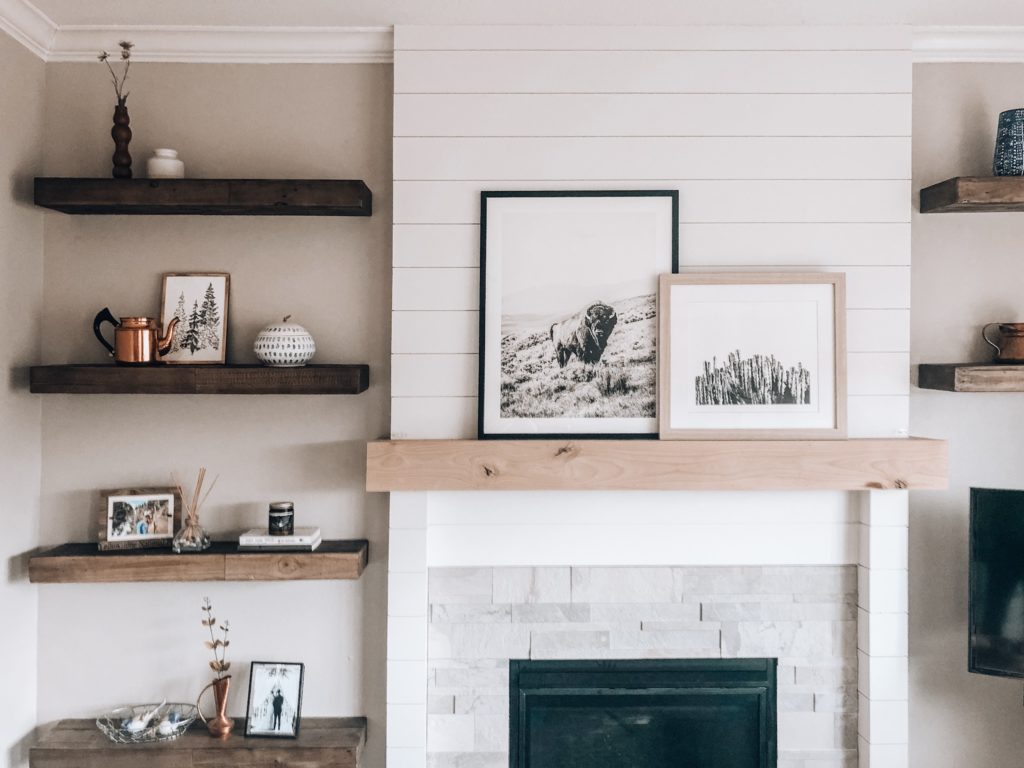
Collin installed the TV mount and hung the reclaimed wood floating shelves I purchased from West Elm, and the project was complete! (He’ll be the first to tell you these floating shelves were a pain in the butt. We’re still not confident placing anything over 10 lbs on them. Although, I love the look of floating shelves and would recommend purchasing ones with brackets on the back, like these ones from Etsy, for easy installation.)
