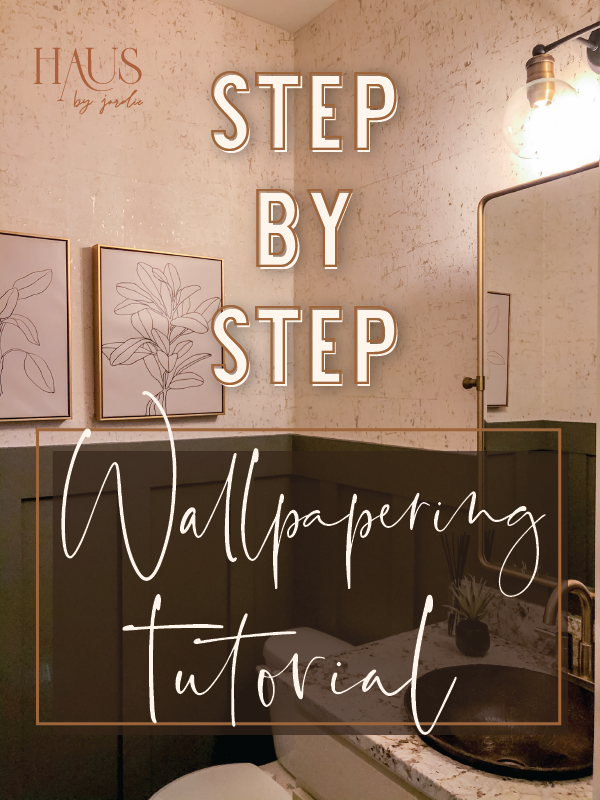
Before wallpapering my powder room, my only experience with wallpaper was painstakingly helping my mom remove it from a room in my parents’ house. Fortunately she helped me put this up too. I know it can be done with one person but having two people – one on a ladder and one down below – made this a lot easier.
Wallpaper is just recently coming back en vogue, but I still wouldn’t use it in a large room where I might want to remove it at some point. But in small spaces, I think it’s a great way to add depth.

Materials needed
- Wallpaper: If you’re like me and have never wallpapered before, it’s worth explaining that you’ll paste on your strips and then cut them to size on both top and bottom once they’ve been pasted to the wall. So, before you purchase your wallpaper, make sure you measure your space and purchase a little more than your wall square footage since you’ll be cutting off extra.
- Wallpaper adhesive: This will depend on the type of wallpaper you select. My paper was vinyl, which is a heavyweight material, so I used this heavyweight adhesive. If you are using regular wallpaper, a normal wallpaper adhesive will work fine. My material was also “non-pasted”. You can buy “pre-pasted” paper that only requires water to activate the existing paste.
- Paint roller for applying adhesive to paper
- Level
- Tape measure
- Wallpaper brush
- Paint guide or “taping knife”
- Wallpaper blade or X-acto knife
- Wallpaper seam roller
- Scissors
- Yard stick
- Sponge and bucket of water
Installing wallpaper: Step-by-step Tutorial
- Use a level and a yard stick to draw a vertical plumb line for your first wallpaper strip. Never start your wallpaper on a corner, since you’ll find that your corners aren’t usually perfectly plumb (P.S. – “plumb” is the vertical word for level.)
- Measure the width of your wallpaper to determine how many strips you’ll need to cut for the size of your room. Then measure the height of the wall space you want to cover so you can cut your wallpaper strips.
- Start cutting your wallpaper strips with an extra 4 or so inches excess than the height of your wall space.
- Once our strips were cut, we pasted the adhesive to the back of our first wallpaper strip with a paint roller – this step may be different based on the kind of wallpaper you purchase. (See wallpaper adhesive above.)
- After pasting on adhesive, it’s important to fold the strip in half, adhesive sides facing each other, for about 10 minutes until the adhesive gets tacky. We only pasted and folded two wallpaper strips at a time so they didn’t get too dry before being applied to the wall.
- When the adhesive is tacky, carefully unfold the wallpaper strip paste evenly with your plumb line, with about 2 extra inches against the ceiling and bottom edge. Use a wallpaper brush to force out any air bubbles underneath the paper.
- Use your paint guide and a blade to cut evenly along the ceiling and bottom edge.
- Once your strip is in place and cut, you can ensure all air bubbles are out with your wallpaper brush and seam roller. You will likely have some excess paste squeezing out from under the paper, so use your damp sponge to wipe off all the excess paste from the paper, wall and ceiling while it’s still wet.
- Paste your next strip right up to the other one and repeat until the room is finished!
A note on your final strip: You will likely have to cut your final strip length-wise in order to fit it in place without overlap. If there is a small amount of overlap in an inconspicuous area, it’s fine.
A note on inside corners: If you are papering an entire room like I did, the inside corners will be the trickiest part. Paste the strip on the same way as the others, but before you cut off the excess, cut a “relief” a couple inches into the middle of the corner so you can press the paper up to the ceiling/down to the bottom edge – without it bunching up.
Best of luck on your own wallpapering projects! Leave a comment below if you have any questions. Thanks for reading!


