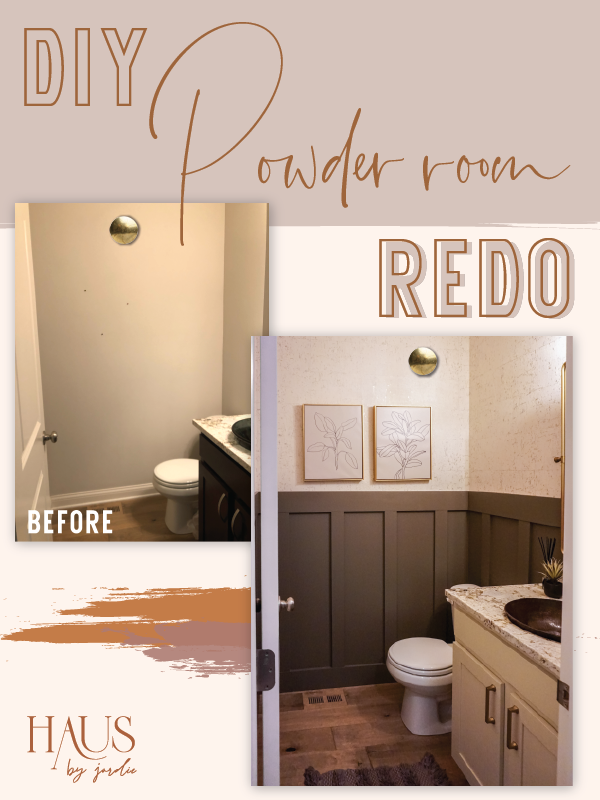
Guys my marathon DIY is finally done! I started working on this project in February and just now finished. I guess I’ll write it off as good things take time (see also: procrastination).
Because it’s so small, this room was very difficult to photograph and these photos don’t quite do it justice, but I hope this post is helpful the next time you want to tackle your own marathon DIY!
Installing Board and Battan
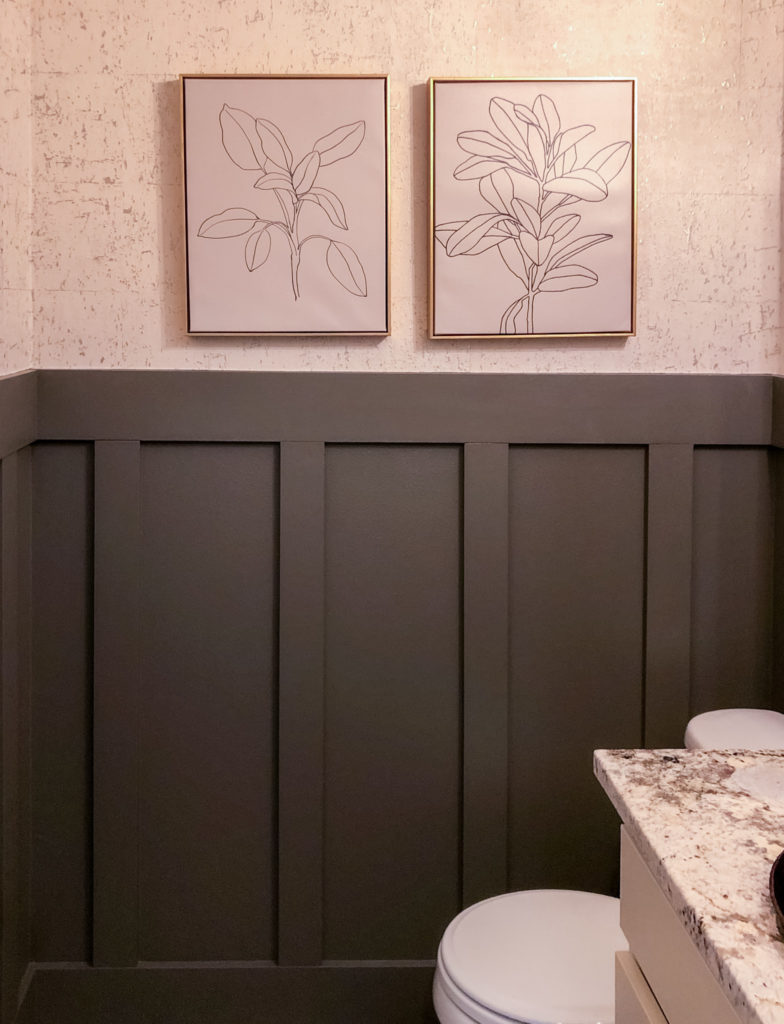
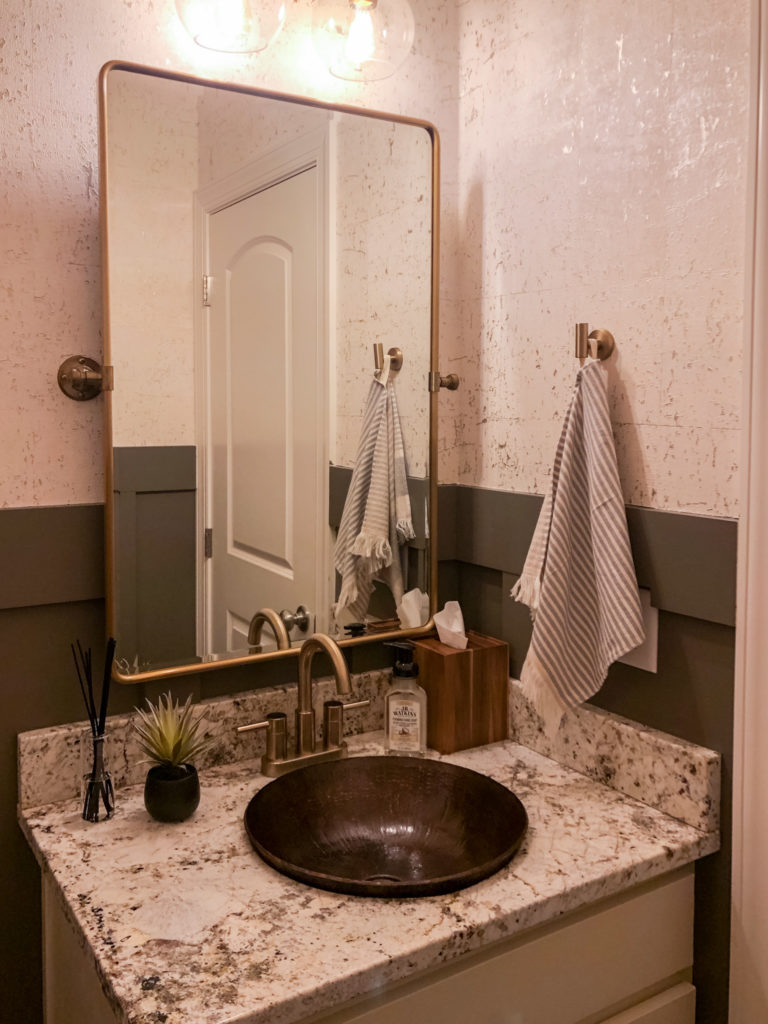
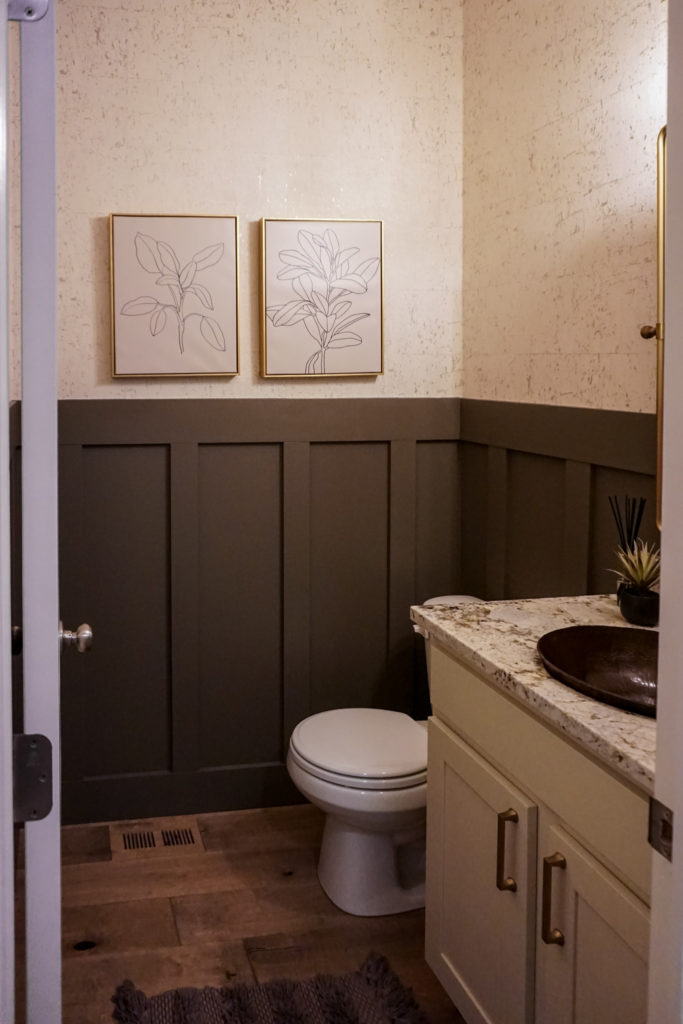
The first element I took on (with the help of my brother) was the board and batten. This was not as hard as I expected and turned out beautiful! Click here to read my step-by-step board and batten tutorial.
Wallpapering
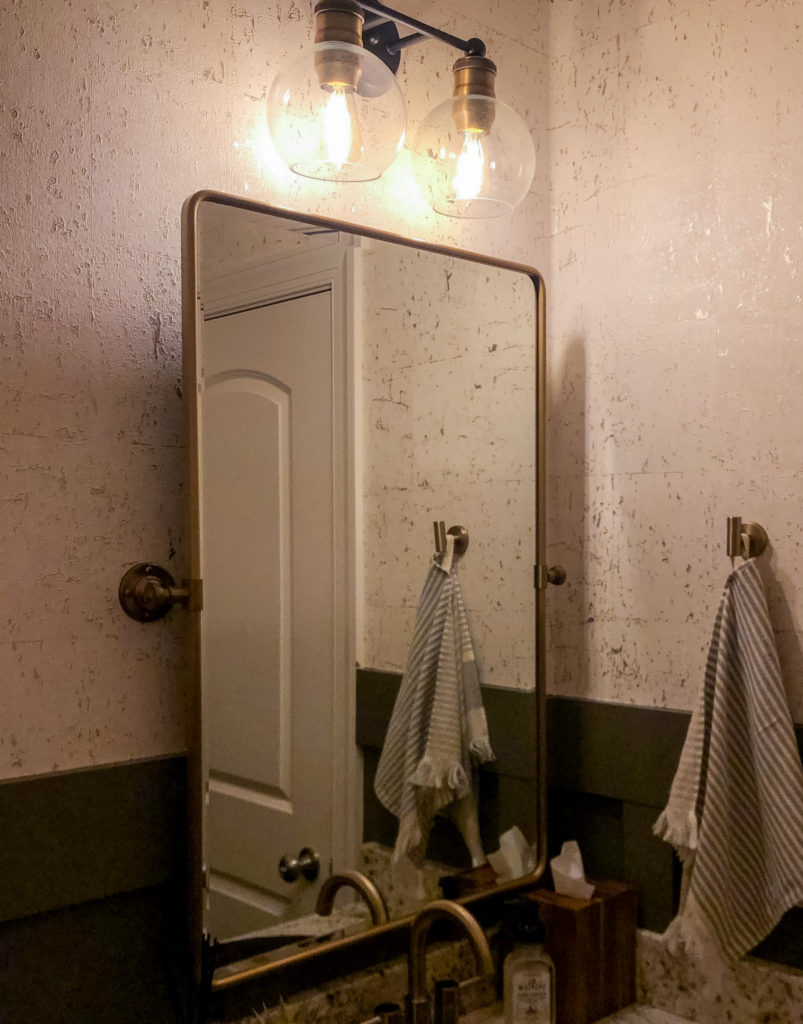
I wanted a neutral wallpaper above the board and batten to add some texture to this tiny half bath. I found this “cork” wallpaper from Wayfair, which is actually a vinyl wallpaper made to look like cork. My wallpaper was “non-pasted” (you can buy “pre-pasted” wallpaper that just needs water) so in order to adhere it to the wall I used this heavyweight wallpaper adhesive.
This was my first time wallpapering, and it was a bit of a learning curve. Thankfully I had my mom to help with this step. Learn from my mistakes and read my step-by-step wallpapering tutorial.
Re-finishing the cabinet
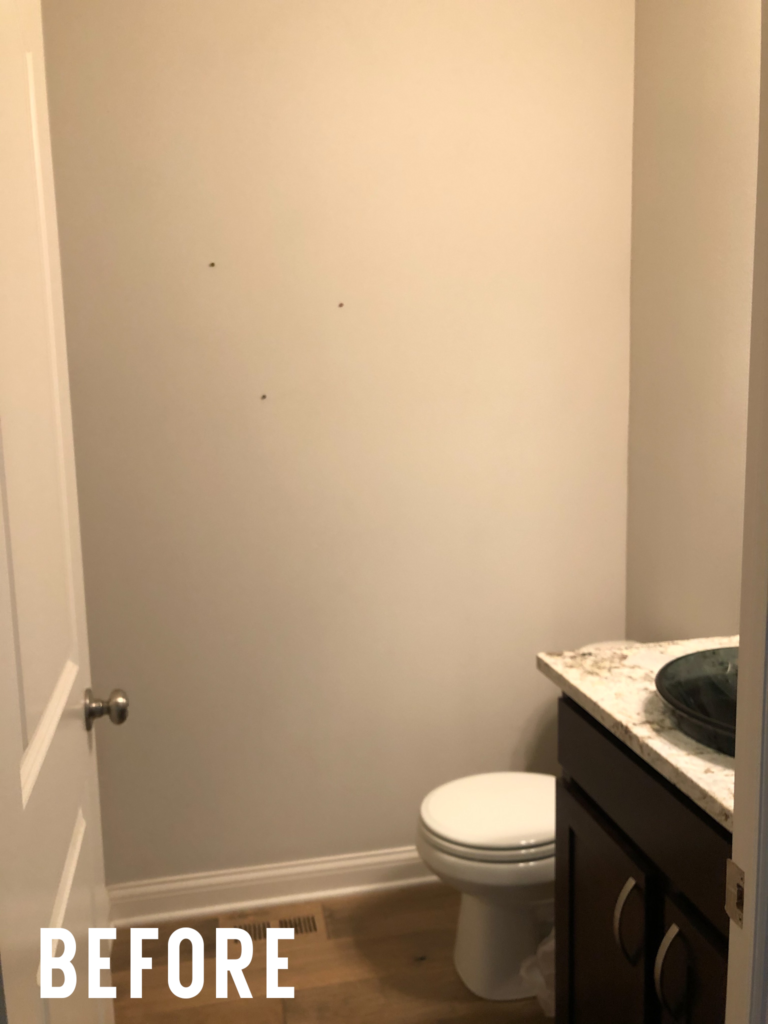
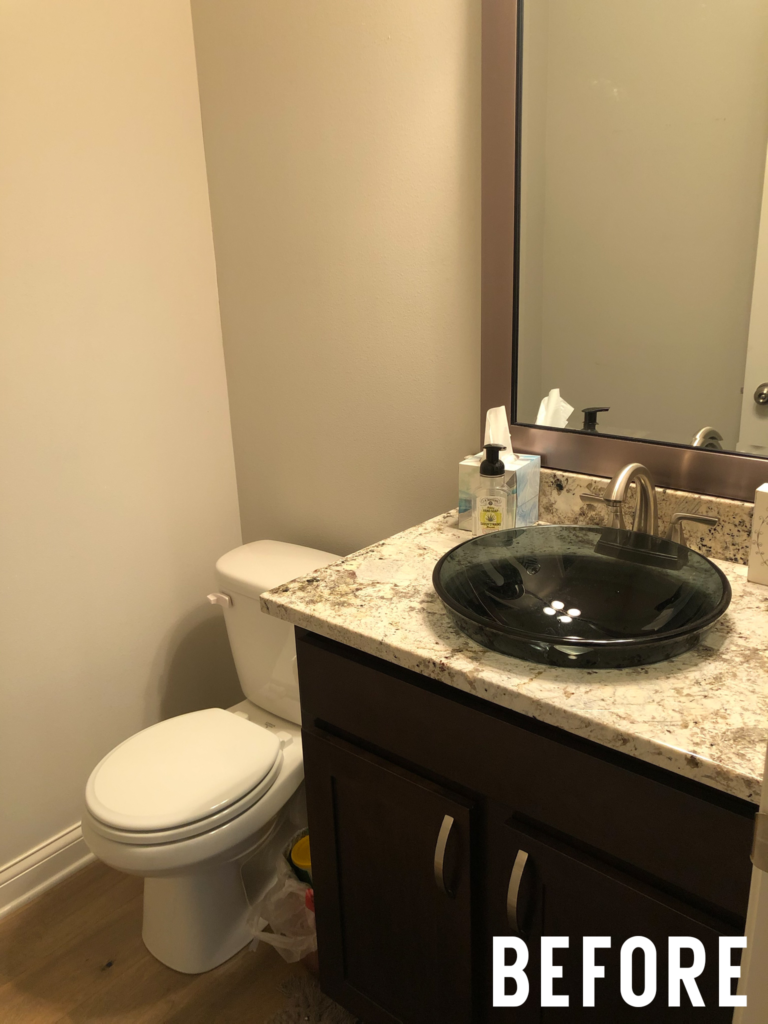
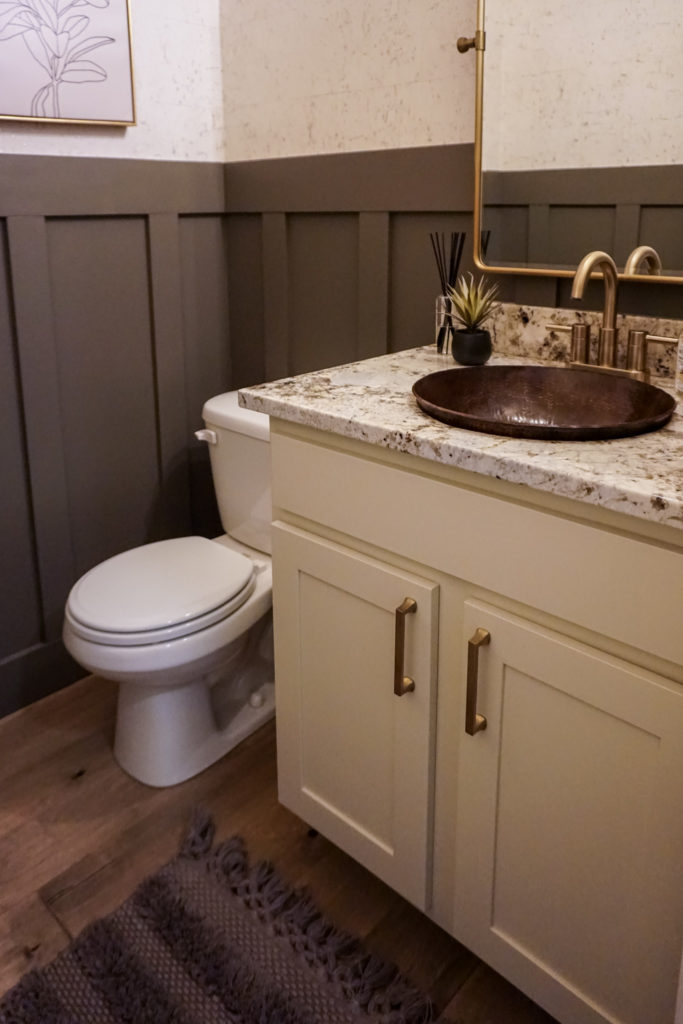
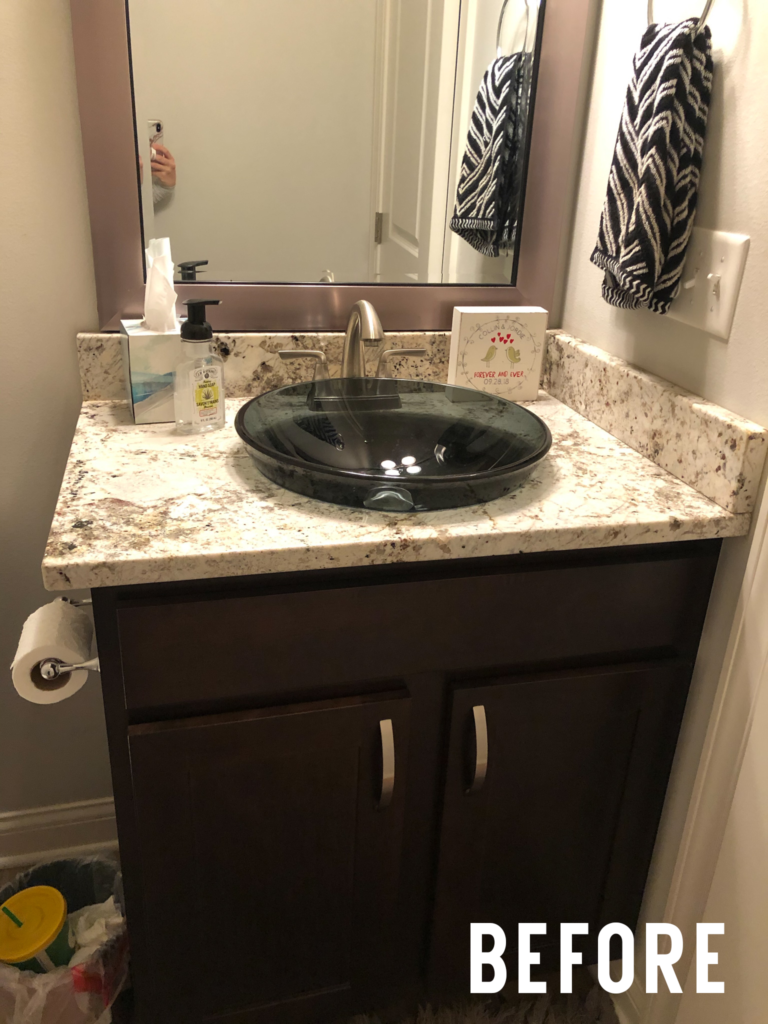
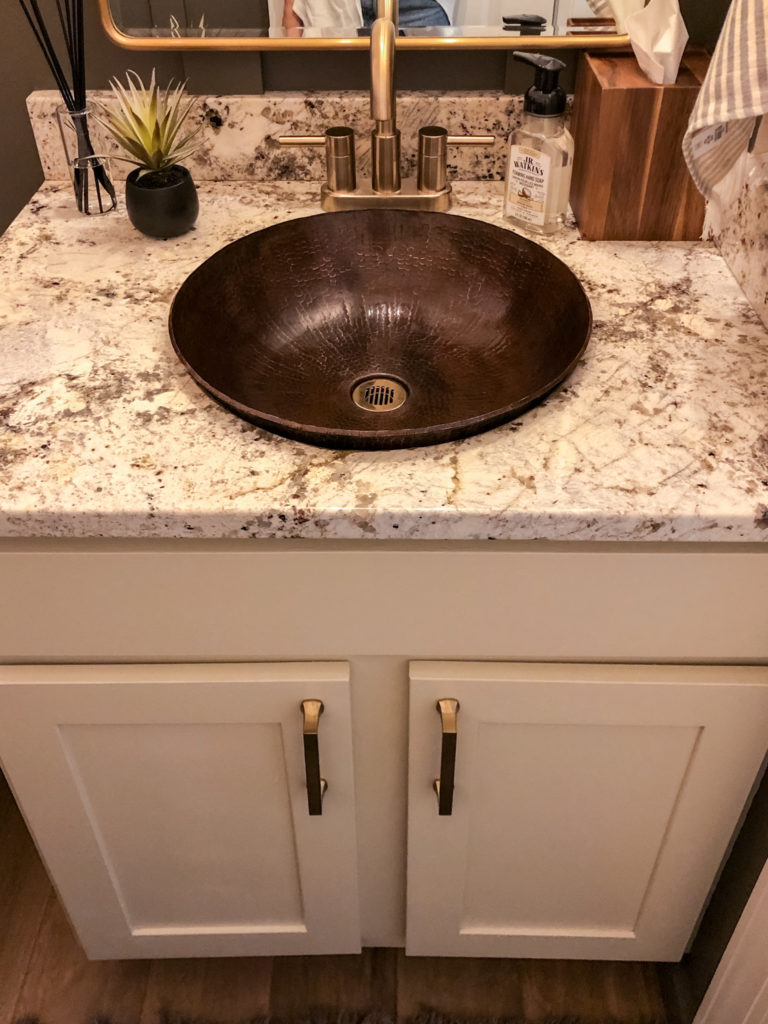
Our powder room cabinet used to be a dark walnut stain and I decided to paint it a creamy beige to complement the wallpaper. Instead of sanding, I used TSP and liquid sandpaper to prep the surface for paint. I think if you were re-finishing a cabinet that gets a lot of use (like a kitchen cabinet,) you would want to sand before painting. But since this cabinet is rarely used, this method worked fine to prep the surface and is much easier than sanding!
I replaced the old nickel cabinet pulls with this brushed gold set.
Replacing the bathroom sink and faucet
The previous owners had already installed the granite and a vessel-style (above the counter) sink, so replacing the sink with a new one was just a matter of cutting the old one out of the counter and caulking the new one in place.
A tip for removing silicone caulk when removing a sink: spray WD-40 on the caulk to soften it and then cut with a box knife and pry out.
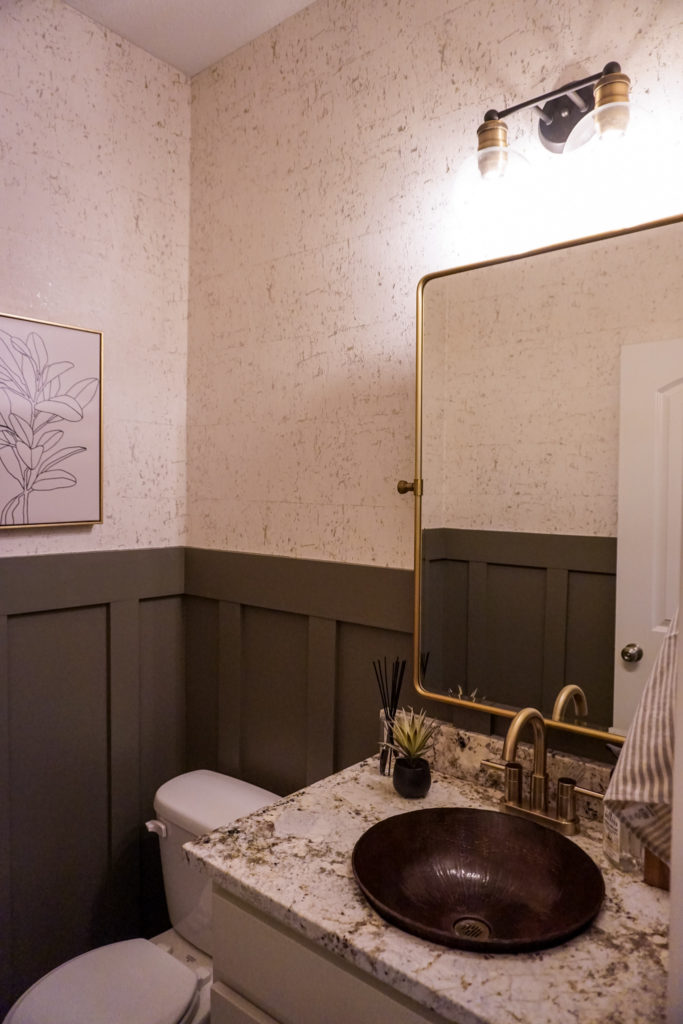
I chose this pretty hand-made copper vessel sink to contrast the other natural textures in the room. I also replaced the old nickel faucet with this modern brushed gold one. Replacing a faucet is extremely easy as long as you pick a faucet that requires the same amount of holes in the counter as your existing one.

Finishing touches
The design elements in this room are already adding a lot to this small room, so I didn’t want to take away from them by adding too much decor.
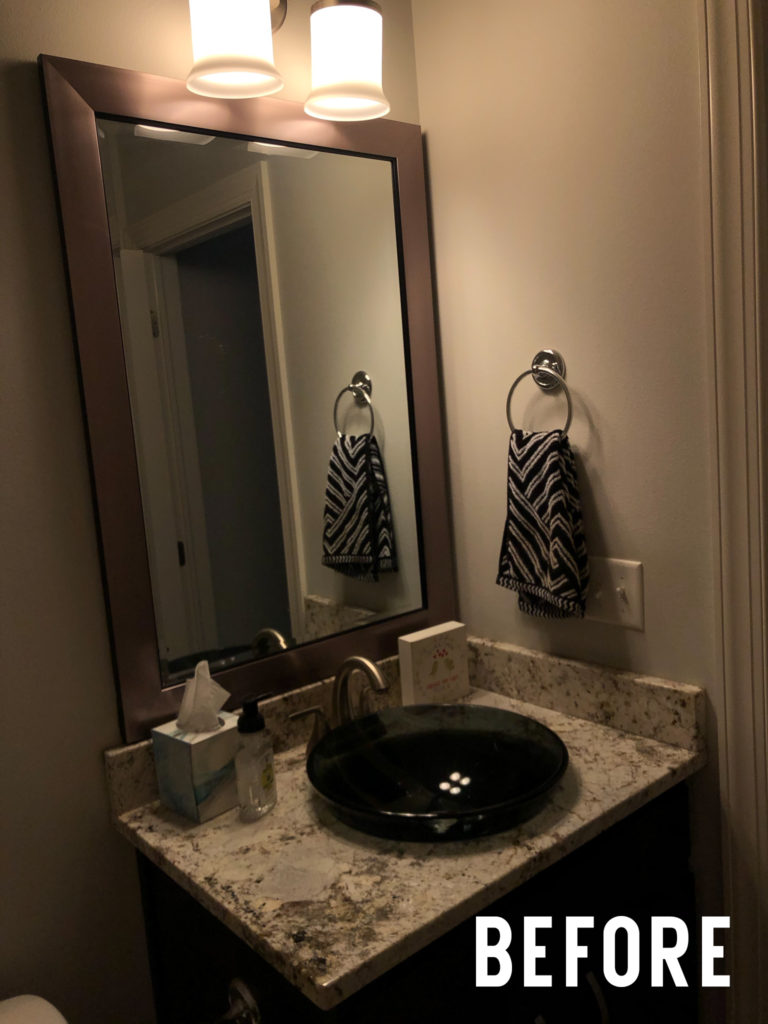
The major fixtures were this gorgeous vintage-style Pottery Barn mirror that actually has functional hinges to tilt it forward and back. I also replaced the nickel sconce with a new gold and bronze fixture with glass globes.
For finishing touches, I added two simple canvas prints on one wall, replaced the old chrome towel ring with a sleek new gold towel hook and added some minimal items to the counter.
I hope this post was helpful and you’re inspired to take on your own DIY! Shop all of the items in these photos below:


