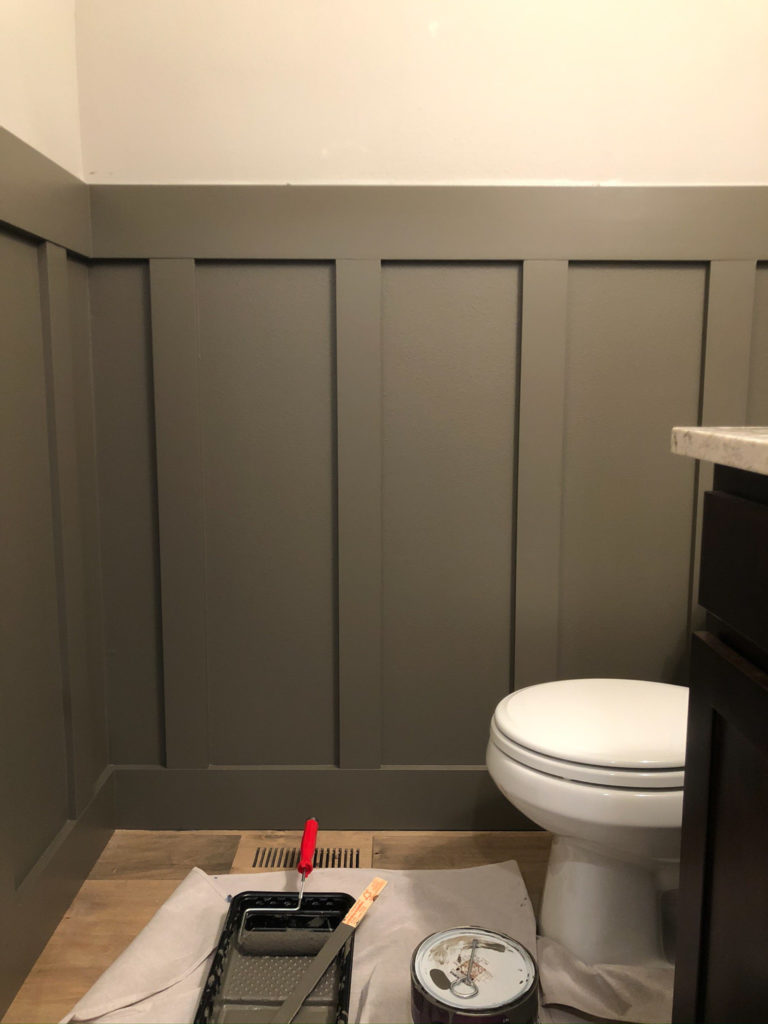
Unlike most projects I take on, this one went way more smoothly than I’d imagined. We measured, bought all of the materials and finished the job in two days. Special shoutout to my brother because I couldn’t have taken this on without him and his tools.
Materials we used:
- 4 boards of 4″ x 3/4″ x 12′ pre-primed pine for battens (Note: I intended to use MDF board but Home Depot only sold it in 8′ boards, so we went with the 12′ pine instead. This upped the price of our project but I really like the look of the solid wood. One benefit of MDF is that it doesn’t warp. We had some pine boards that were slightly warped.)
- 3 boards of 6″ x 3/4″ x 12′ pre-primed pine for boards
- Spackle
- Sanding block
- Caulk
Tools we used:
- Miter saw
- Brad nail gun with 2″ nails
- Jigsaw (Note: this may not be necessary for your project, I explain below why we needed it.)
Step by Step Tutorial
Step 1: Plan and Measure
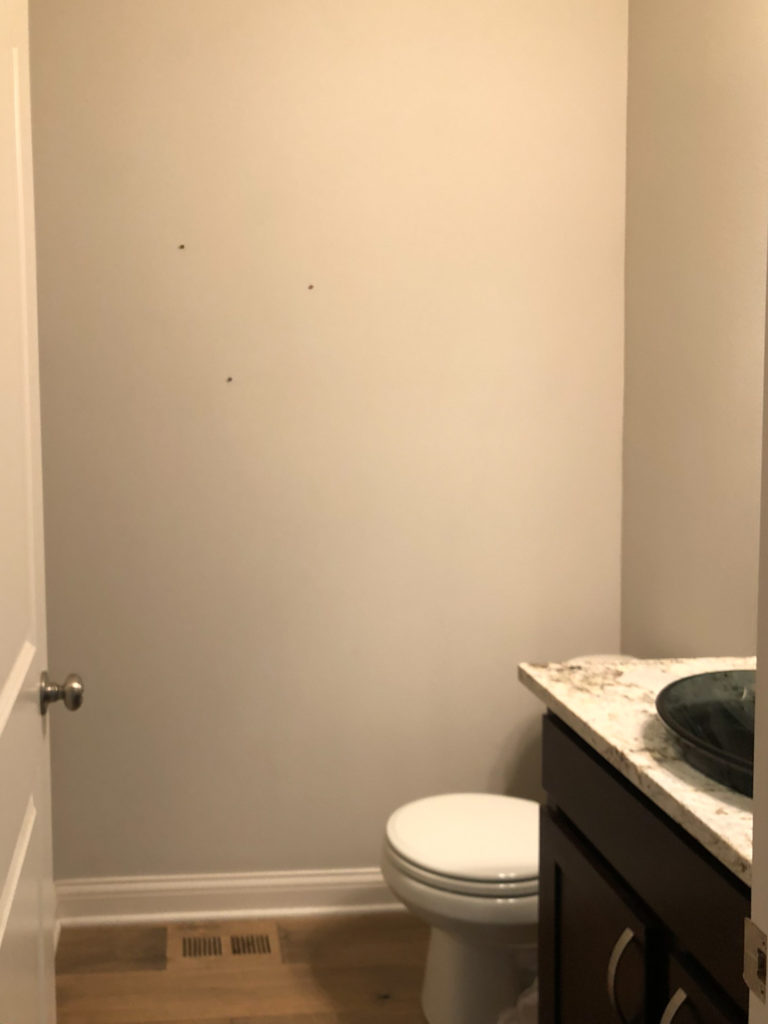
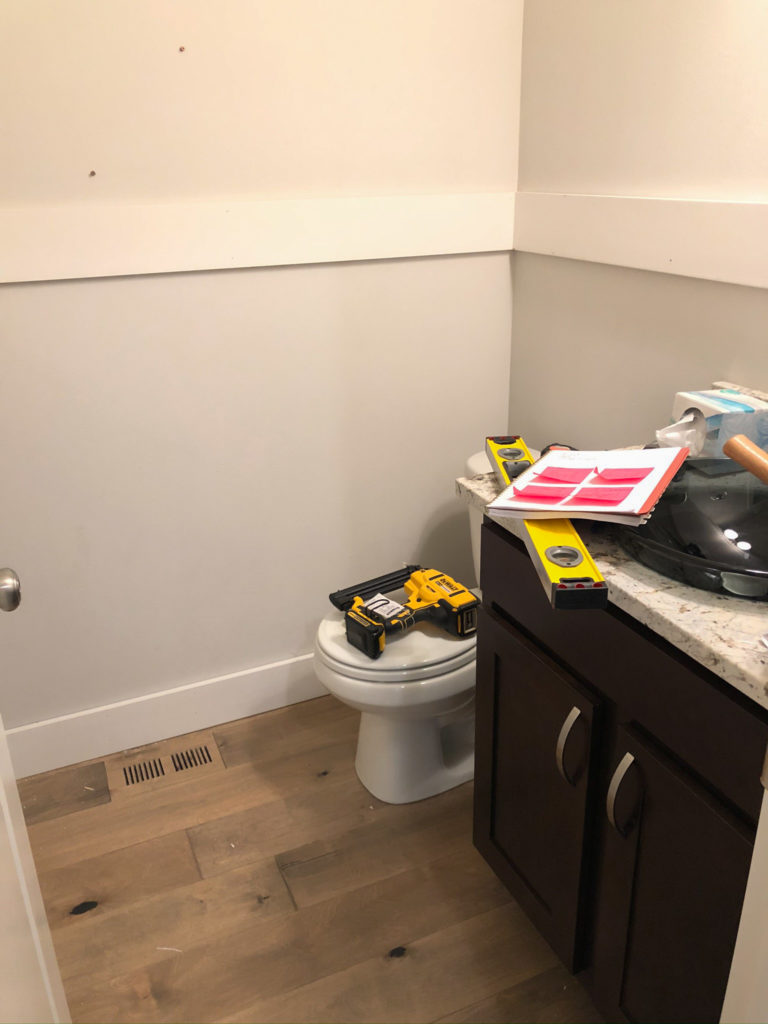
First I decided how high I wanted the board and batten to go up on the wall and how much space I wanted in between my battens (vertical boards.) Then I carefully measured each wall.
I decided to take my board and batten 54″ up the walls and place the battens 11″ apart.
Step 2: Cut Horizontal Boards
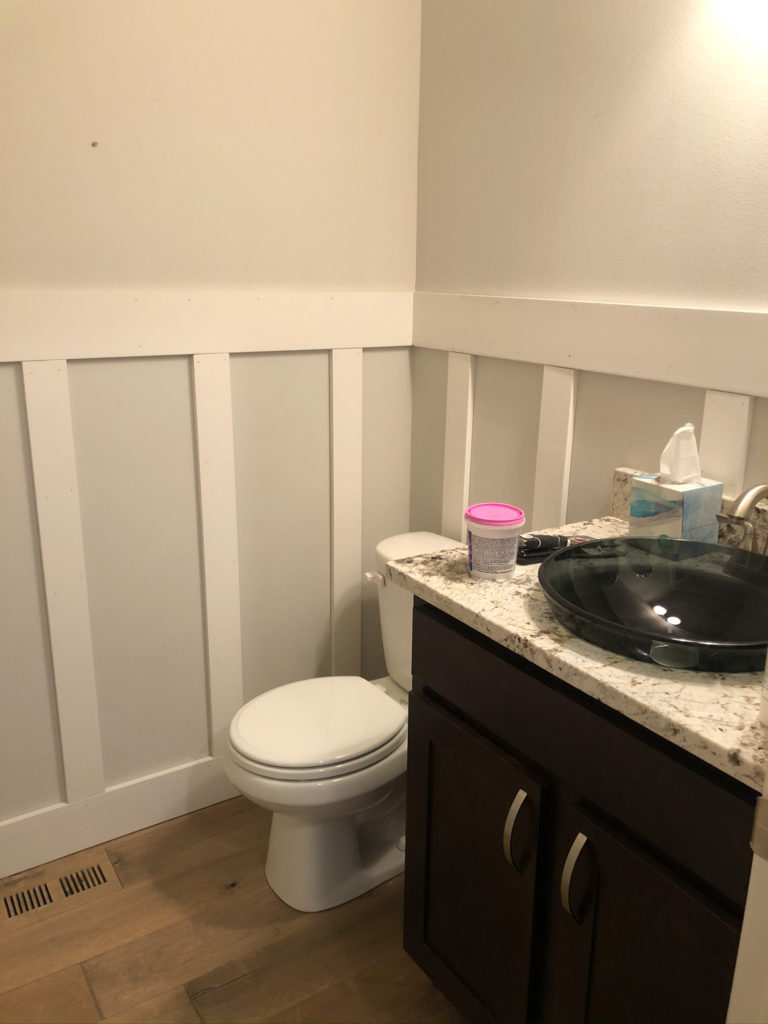
I wanted the board and batten to look smooth and seamless so we removed our existing baseboards. I’ve seen some tutorials where people leave their exiting baseboards and install battens above it with 45-degree mitered angles but I personally prefer the smooth look of a new baseboard.
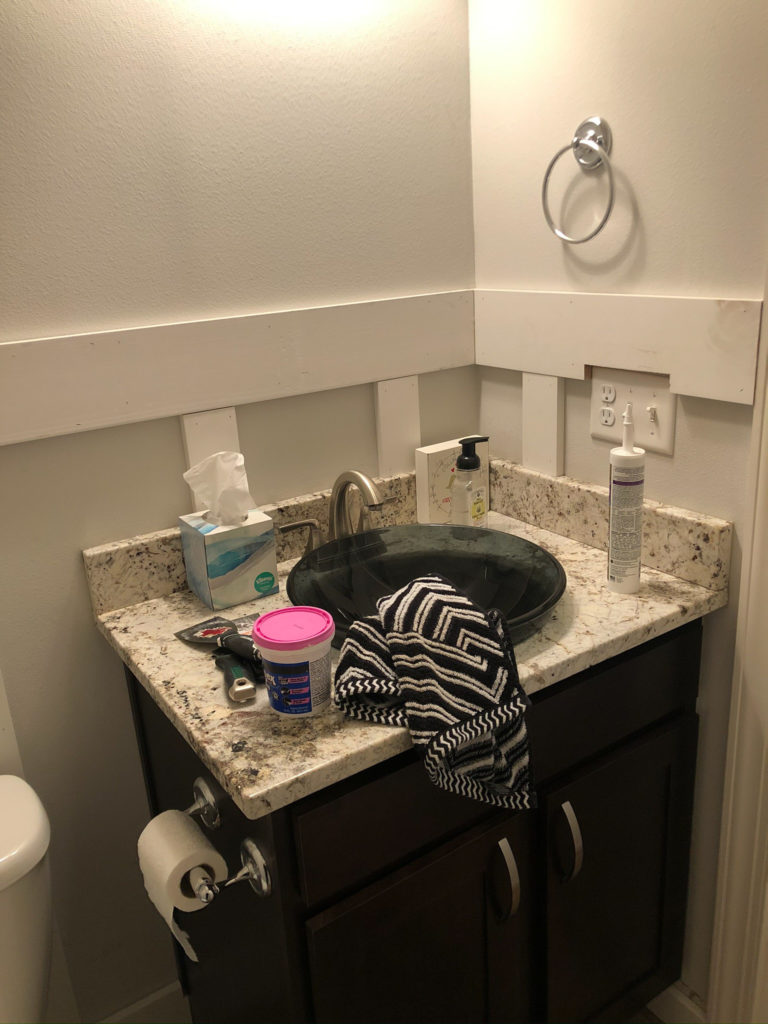
We cut and installed the 6″ baseboards first, followed by the 6″ horizontal boards. One clear planning miss on my part was the outlet/light switch, which was slightly in the way of one of my boards. We used a jigsaw to cut out a space for the panel. We also used the jigsaw in one other space where part of the sink cabinet jutted out.
Step 3: Secure Horizontal Boards to Walls
We used 2″ brad nails and a nail gun to secure all of the boards to the wall. I’ve read some tutorials in which people used construction glue as well, but in my opinion that step is unnecessary.
Step 4: Measure and Install Each Batten
Next we measured for all of the battens (vertical boards.) Although it seems like they should all be the same length, you’ll usually run into some weird unleveling in your house, so don’t cut your boards until you measure for each one.
We cut six longer battens and three shorter battens for above the sink.
I expected the cutting/installation to take way longer than it did, but it was surprisingly easy! The only thing we didn’t expect was having to use the jigsaw. But luckily since my brother already had one, this was no big deal.
Finishing Touches
Step 5: Spackle Nail Holes
I spackled all of the nail holes and any other imperfections and then sanded it down to make sure everything was nice and smooth. Then I used a tack cloth to remove all of the saw dust.
Step 6: Caulk Seams
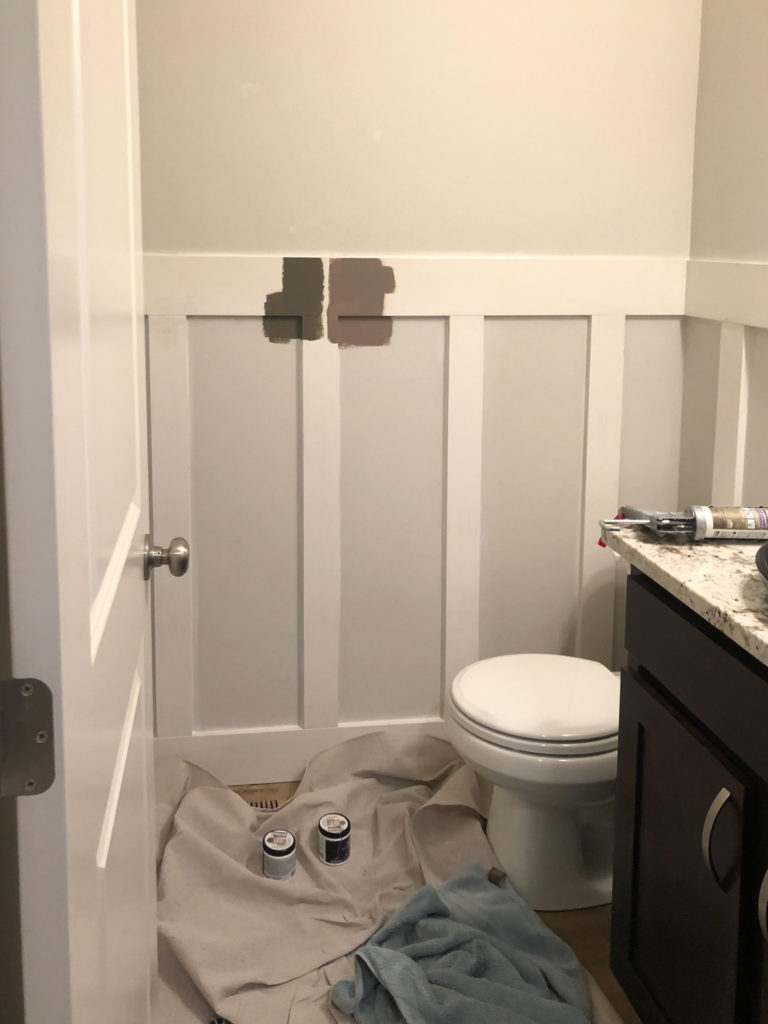
The next very important step is caulking. Caulk works wonders at making a project look finished. I caulked all of the seams except for those on the floor.
Step 7: Paint
Since I purchased pre-primed pine boards, I didn’t have to prime and just did 3 coats of my paint color, Behr Marquee Burnished Pewter. It turned out great! I’m putting up wallpaper above the board and batten, so I left the top rough for now, but if you were going to keep your existing paint color up top, you’ll likely have to touch up where you’ve caulked on top of the boards.
